Custom stickers have become an essential part of branding, marketing, and creative expression. From small businesses and startups to artists and global companies, stickers are used everywhere to enhance visibility and communicate identity. But while stickers may seem simple, the process behind creating high-quality prints is detailed and carefully structured.
Understanding the journey from design to delivery helps businesses and creators make better decisions and avoid costly mistakes. In this guide, we’ll walk through the complete custom sticker printing process and show how Custom Stickers are professionally produced from concept to final product.
Step 1: Concept and Purpose Definition
Every successful sticker begins with a clear idea. Before any design work starts, it’s important to define the purpose of the custom stickers.
Ask yourself:
- Is it for branding or promotion?
- Will it be used on packaging or products?
- Is it part of a marketing campaign?
- Who is the target audience?
Understanding the purpose helps guide every design and production decision. For example, promotional stickers may focus on bold visuals, while packaging stickers require a more professional and clean look.
Without a clear concept, the final result may lack direction and impact.
Step 2: Designing the Sticker Artwork
Once the purpose is clear, the design phase begins. This is where creativity meets strategy. A well-designed sticker should be visually appealing, easy to understand, and aligned with your brand identity.
Key design elements include:
- Logo or illustration
- Typography (if needed)
- Brand colors
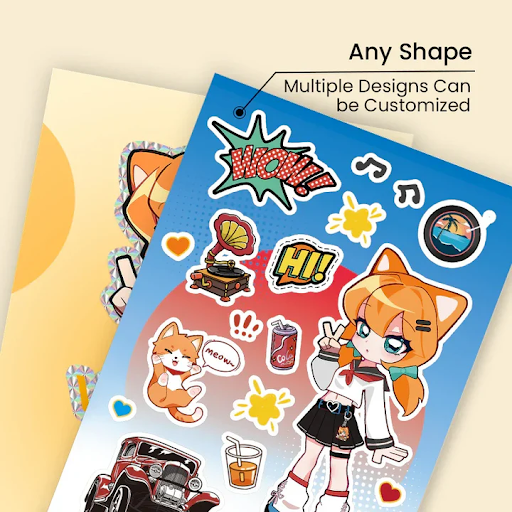
- Shape and layout
Designers often use software like Adobe Illustrator or Photoshop to create high-resolution artwork. Vector formats are preferred because they allow scaling without losing quality.
For Custom Stickers, simplicity is often more effective than complexity. Clean, bold designs tend to perform better both visually and in print.
Step 3: Choosing the Right Sticker Type
Before printing, it’s important to select the right type of sticker. Different materials and finishes serve different purposes.
Common options include:
Vinyl Stickers
Durable, waterproof, and perfect for long-term or outdoor use.
Matte Stickers
Smooth, non-reflective finish ideal for elegant and minimal branding.
Glossy Stickers
Bright and vibrant, perfect for eye-catching designs.
Holographic Stickers
Reflective and colorful, used for creative and promotional purposes.
Choosing the right type ensures that the final product matches both function and style.
Step 4: Preparing Print-Ready Files
Once the design is finalized, it must be prepared for printing. This step is critical because even a great design can fail if the file setup is incorrect.
Important technical requirements include:
- Resolution: At least 300 DPI for sharp printing
- Color mode: CMYK (not RGB) for accurate print colors
- Bleed area: Extra space around edges to prevent white borders
- Safe margins: Keeps important elements away from cutting lines
- File format: PDF, AI, EPS, or high-quality PNG
Printers rely on these specifications to ensure accurate reproduction of the design.
Skipping this step often leads to misaligned or poor-quality stickers.
Step 5: Proofing and Sample Approval
Before full production begins, most printing companies provide a digital proof or sample. This is a preview of how the final sticker will look after printing and cutting.
This step allows you to check:
- Color accuracy
- Layout alignment
- Text readability
- Cut lines and shapes
If any issues are found, changes can be made before production starts. This reduces errors and ensures the final output meets expectations.
For professional Custom Stickers, approval is a crucial stage that guarantees quality control.
Step 6: Printing the Stickers
Once the design is approved, the printing process begins. Modern sticker printing uses advanced technology to ensure precision and consistency.
Common printing methods include:
Digital Printing
Ideal for small to medium batches. It is fast, cost-effective, and produces high-quality results.
Offset Printing
Used for large-scale production. It offers excellent color accuracy and is cost-efficient for bulk orders.
Screen Printing
Best for simple designs with bold colors. It is highly durable and commonly used for specialty stickers.
During printing, inks are applied layer by layer to achieve vibrant and detailed results.
Step 7: Cutting and Shaping
After printing, the stickers move to the cutting stage. This is where the shape of the sticker is defined.
Types of cutting include:
- Die-cut: Cut exactly around the design shape
- Kiss-cut: Cut through the sticker but not the backing sheet
- Standard shapes: Circle, square, or rectangle
Die-cut stickers are especially popular because they match the exact outline of the design, giving a premium and customized appearance.
Precision cutting is essential to ensure clean edges and professional results.
Step 8: Finishing and Coating
Finishing touches enhance both appearance and durability. This step protects the sticker and improves its overall quality.
Popular finishing options:
- Matte coating for a soft, elegant look
- Gloss coating for vibrant colors and shine
- UV coating for scratch and fade resistance
- Lamination for extra durability
These finishes also influence how the sticker feels and performs over time.
For high-quality Custom Stickers, finishing is what separates standard prints from premium products.
Step 9: Quality Inspection
Before packaging, each batch of stickers undergoes a quality check. This ensures that all prints meet industry standards.
Inspectors check for:
- Color consistency
- Cutting accuracy
- Adhesive quality
- Print clarity
Any defective stickers are removed to maintain overall product quality.
This step is crucial for maintaining brand reputation and customer satisfaction.
Step 10: Packaging and Preparation for Delivery
Once approved, stickers are carefully packaged for shipping. Proper packaging ensures that stickers remain in perfect condition during transit.
Common packaging methods include:
- Protective sleeves or sheets
- Rolled or flat packaging
- Moisture-resistant wrapping
Businesses may also include branding elements in packaging, such as thank-you notes or promotional inserts.
This adds value to the customer experience and enhances brand perception.
Step 11: Shipping and Delivery
The final step in the process is delivery. Depending on the supplier, stickers can be shipped locally or internationally.
Fast and reliable shipping is important for:
- Meeting marketing deadlines
- Event promotions
- Product launches
Many printing companies now offer tracking systems so customers can monitor their orders in real time.
Once delivered, the stickers are ready to be used in packaging, marketing, or personal projects.
How the Process Impacts Branding Success
Understanding the sticker printing process helps businesses make smarter decisions. Each step—from design to delivery—affects the final product’s quality and effectiveness.
Well-produced stickers can:
- Strengthen brand identity
- Improve packaging aesthetics
- Increase customer engagement
- Enhance marketing campaigns
This is why investing time in proper planning and production is essential.
Final Thoughts
The journey from design to delivery is a detailed process that combines creativity, technology, and precision. Every stage plays a vital role in ensuring that the final product meets expectations and supports your branding goals.
From concept development and design creation to printing, cutting, and delivery, each step contributes to the overall quality of the final sticker.
When done correctly, Custom Stickers become more than just printed materials—they become powerful branding tools that help businesses stand out, connect with customers, and grow their identity in a competitive market.
By understanding this process, businesses and creators can confidently produce high-quality stickers that make a lasting impression.